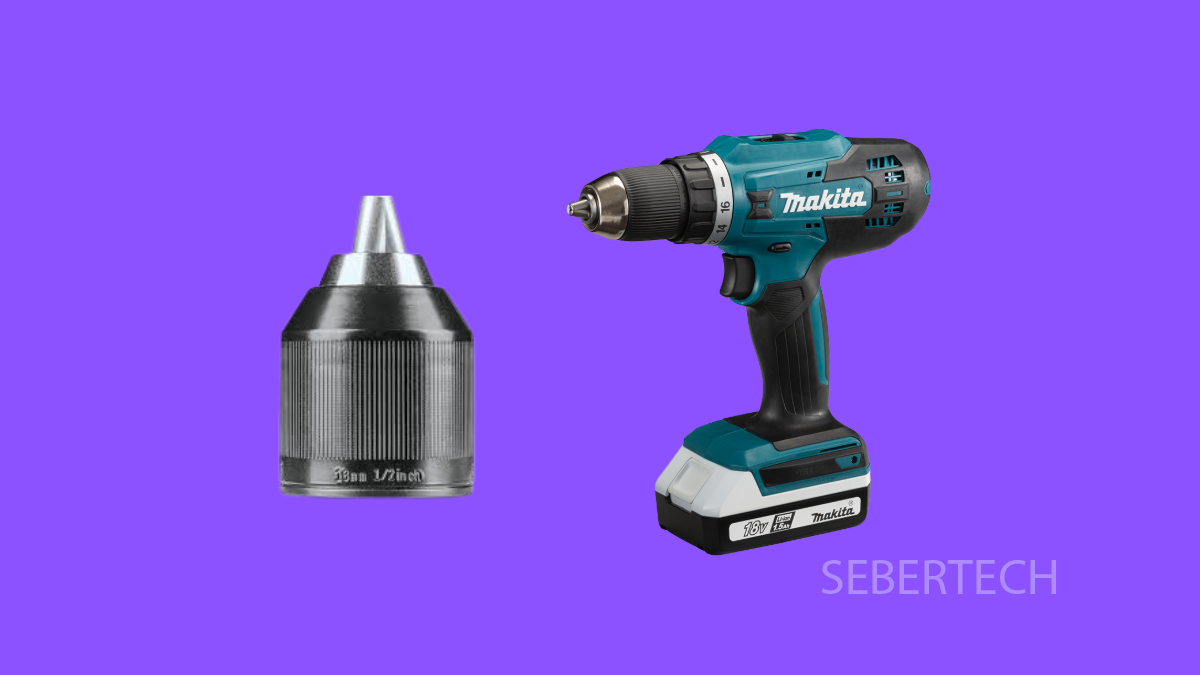
A slipping chuck on your Makita cordless drill can make drilling nearly impossible. Instead of gripping the bit firmly, the chuck loosens, causing the bit to spin without biting into the material. Luckily, this issue is common and usually easy to fix with the right steps.
Why Your Makita Cordless Drill Chuck Might Be Slipping
- The chuck jaws are worn out or dirty.
- The drill bit is not seated correctly.
- The chuck itself has loosened over time.
- Over-tightening has damaged the chuck mechanism.
- The drill is under heavy load beyond its rated capacity.
Clean and Reseat the Drill Bit.
Dust, debris, or improper seating can stop the jaws from gripping tightly. Always start by cleaning the bit and chuck before checking for bigger issues.
- Remove the drill bit, and then wipe it clean with a dry cloth.
- Open the chuck fully, and then inspect for dirt or debris inside.
If you see buildup, use compressed air or a small brush to clean it. Reinsert the bit, making sure it sits straight in the jaws.
Tighten the Chuck Properly.
Sometimes the bit slips simply because the chuck was not tightened enough. Makita drills often use a keyless chuck, so proper tightening is essential.
- Insert the drill bit, and then twist the chuck sleeve clockwise until it grips.
- Hold the drill firmly, and then give the chuck a final twist to lock it in place.
This ensures the jaws close evenly on the bit.
Check for Wear on the Chuck Jaws.
Over time, the jaws inside the chuck can wear down. Worn jaws will not grip properly and can cause slipping.
- Open the chuck fully, and then inspect the jaws for smooth or rounded edges.
- If they look worn, the chuck may need replacement.
Replacing a worn chuck is often the most reliable fix if tightening does not help.
Secure the Chuck to the Spindle.
The chuck itself can sometimes loosen from the drill spindle, especially after heavy use. Ensuring it is tightly secured can stop slipping.
- Open the chuck jaws fully, and then locate the retaining screw inside.
- Tighten the screw using a screwdriver, and then test the drill again.
If the screw is already tight, the entire chuck may need removal and reinstallation.
Replace the Chuck if Necessary.
If cleaning, tightening, and securing do not fix the issue, the chuck itself may be damaged. Replacing it will restore full performance.
- Open the chuck fully, and then remove the retaining screw inside.
- Grip the chuck firmly, and then twist it counterclockwise to remove it from the spindle.
Install a new Makita-compatible chuck by threading it on clockwise and securing the retaining screw.
A slipping chuck can slow down your work, but with these steps, you can usually solve the problem quickly. If your Makita cordless drill still slips after replacing the chuck, the issue could be with the spindle or gearbox, which may require professional repair.
FAQs
Why does my Makita cordless drill chuck keep loosening?
Most of the time, it happens due to dirt in the jaws, improper tightening, or worn chuck components.
Can I fix a worn chuck, or do I need to replace it?
A worn chuck usually needs replacement. Cleaning and tightening may help temporarily, but replacement is the long-term solution.
How often should I replace a drill chuck?
It depends on usage. Heavy users may need a replacement every couple of years, while light users can go much longer if the chuck is maintained.
