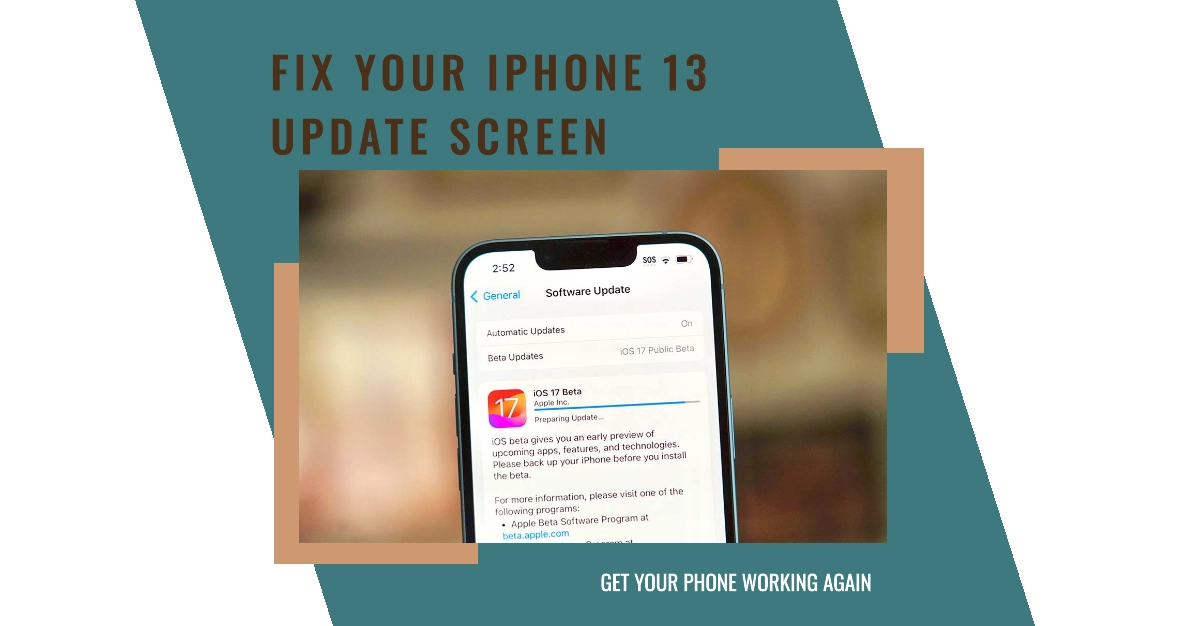
Hitting a snag during your iPhone 13 update can be frustrating. You might see the update progress bar frozen or be stuck on the “Update Requested” screen. Don’t worry, there are several solutions you can try to get your iPhone back on track.
This guide will walk you through a variety of troubleshooting steps to get your iPhone 13 unstuck from the update screen.
Sections
Troubleshooting Steps for iPhone 13 Stuck on Update Screen
There are several reasons why your iPhone 13 might get stuck on the update screen. These steps will help diagnose and fix the issue, allowing you to complete the update.
1. Force Restart Your iPhone 13
A force restart can clear temporary glitches that might be causing the update to freeze. Here’s how to do it:
- For iPhone 13 with Face ID: Quickly press and release the volume up button, then the volume down button. Finally, press and hold the side button until the Apple logo appears.
- For iPhone 13 with Touch ID: Press and hold the power button and the home button simultaneously until the Apple logo appears.
This will restart your iPhone without deleting any data. Try updating your iPhone again after the restart.
2. Check Your Internet Connection
A slow or unstable internet connection can disrupt the update process.
- Ensure you have a strong Wi-Fi signal. If possible, connect to a different Wi-Fi network and try updating again.
3. Free Up Storage Space
If your iPhone 13 doesn’t have enough storage space, the update might not be able to install.
- Go to Settings > General > iPhone Storage and see how much space you have available. Delete unnecessary files, apps, or photos to free up space.
4. Delete the Downloaded Update
Sometimes, a corrupted update file can cause issues. To delete it:
- Go to Settings > General > Software Update.
- If you see an “Downloading” or “Installing” message, tap “Delete Update”.
- Once deleted, restart your iPhone and try downloading the update again.
5. Update Through iTunes on a Computer
You can also update your iPhone 13 using iTunes on a computer. This method can be helpful if there’s an issue with updating directly on your iPhone.
- Connect your iPhone to your computer using a lightning cable.
- Open iTunes and wait for it to recognize your iPhone.
- Click on the iPhone icon in iTunes.
- Click “Check for Update”.
- If an update is available, click “Download and Update”.
Note: Make sure you have the latest version of iTunes installed on your computer.
6. Reset Network Settings
Resetting your network settings can sometimes resolve connectivity issues that might be preventing the update. This will erase your Wi-Fi passwords and Bluetooth connections, so be sure to have them written down beforehand.
- Go to Settings > General > Reset.
- Tap “Reset Network Settings”.
- Enter your passcode to confirm.
Once your network settings are reset, connect to Wi-Fi again and try updating your iPhone.
7. Try Updating Later
Apple servers might be experiencing temporary overload during peak update times. Try updating your iPhone later in the day or night when there might be less traffic.
8. Contact Apple Support
If none of these solutions work, it’s recommended to contact Apple Support for further assistance.
They can help diagnose the problem and provide additional troubleshooting steps. You can contact Apple Support through their website or by calling their customer service hotline.
9. Restore Your iPhone as a Last Resort
If all else fails, you can restore your iPhone as a last resort. This will erase all your data and settings, so be sure to back up your iPhone before proceeding. There are two ways to restore your iPhone:
- Through iTunes: Connect your iPhone to your computer and open iTunes. Click on the iPhone icon, then click “Restore iPhone”.
- Through iCloud Backup: If you have an iCloud backup, you can restore your iPhone from there. Go to Settings > General > Reset > Erase All Content and Settings. Then, follow the on-screen instructions to restore from an iCloud backup.
Important Note: Restoring your iPhone should be a last resort as it will erase all your data and settings.
If you’re still having trouble, contacting Apple Support is the best course of action.
Frequently Asked Questions (FAQs)
1. What happens if I restart my iPhone while it’s updating?
Restarting your iPhone while it’s updating can corrupt the update file and cause further issues. It’s best to avoid restarting unless the update process freezes or gets stuck completely.
2. Is it safe to update my iPhone 13 to the latest iOS version?
Generally, updating to the latest iOS version is safe and recommended. Apple updates often include security patches, bug fixes, and new features. However, it’s always a good idea to check user reviews and forums for any reported issues with a specific update before installing it.
3. How can I back up my iPhone before updating?
There are two main ways to back up your iPhone:
- iCloud Backup: Go to Settings > Your Name > iCloud > iCloud Backup. Turn on “iCloud Backup” and tap “Back Up Now” to create a manual backup.
- Backup to your computer: Connect your iPhone to your computer and open iTunes. Click on the iPhone icon, then click “Back Up Now”.
4. Will updating my iPhone erase my data?
Updating your iPhone typically does not erase your data. However, it’s always a good practice to back up your iPhone before any major software changes.
5. What if I don’t want to update my iPhone to the latest iOS version?
While keeping your iPhone updated is recommended for security and performance reasons, you can technically choose not to update. However, you might miss out on new features and security patches. Additionally, some apps might eventually require the latest iOS version to function properly.
