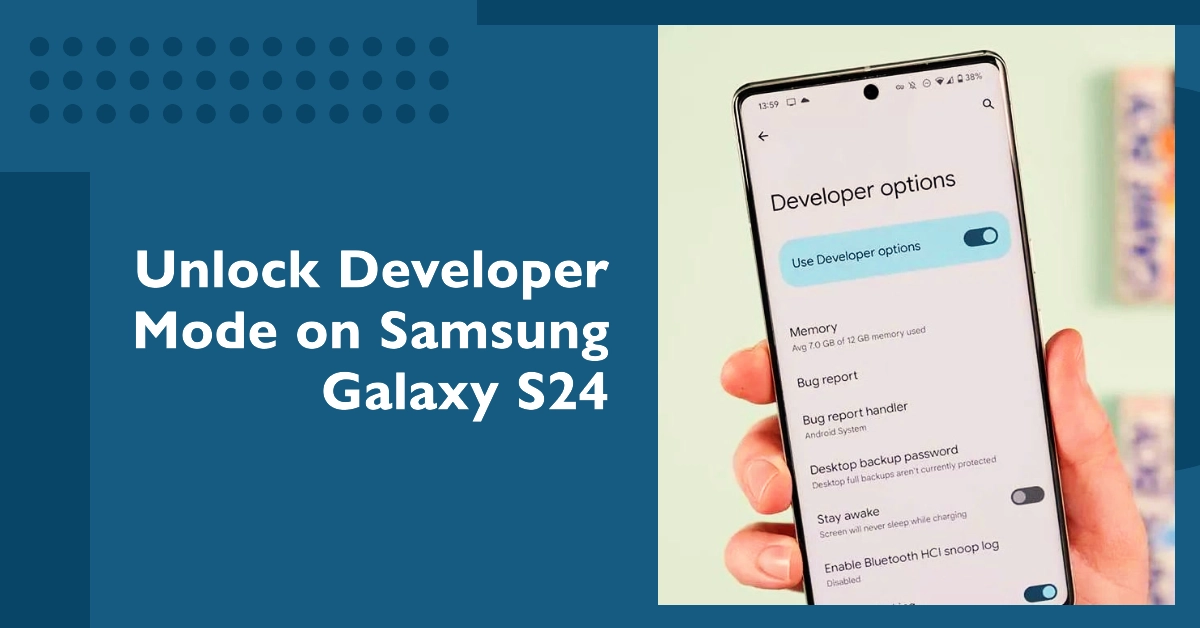
Your Samsung Galaxy S24 hides a powerful set of tools tucked away in Developer Mode. This mode offers advanced options that let you fine-tune your phone’s performance, debug apps, experiment with hidden features, and customize your experience. Unlocking Developer Mode is straightforward, but it does require a few specific steps.
This article provides a clear guide on how to access this hidden menu and take advantage of its capabilities.
What is Developer Mode?
Developer Mode on the Galaxy S24 is a special settings menu that grants you deeper access to system components.
It’s primarily intended for software developers to test and debug their apps, but it also contains options for power users who want greater control over their device.
How to Unlock Developer Mode on Galaxy S24
- Open the Settings app: Locate and tap the Settings app on your Galaxy S24.
- Navigate to About Phone: Scroll down within the Settings menu and tap on “About phone.”
- Find Software Information: In the “About phone” section, tap on “Software information.”
- Tap Build Number Repeatedly: Locate the “Build number” entry and tap on it seven times in quick succession. You may be asked to enter your device’s PIN or pattern for security.
- Success Message: After tapping the Build Number the correct number of times, you’ll see a message confirming “Developer mode has been enabled.”
Accessing Developer Mode
Now that you’ve unlocked Developer Mode:
- Return to the main Settings menu: Go back to the main Settings screen.
- Locate Developer Options: Scroll down and you’ll find a new entry called “Developer options,” usually located near the bottom of the Settings list.
When to Use Developer Mode?
Here are some of the most common situations where Developer Mode on your Galaxy S24 (and Android devices in general) might be needed:
1. App Development and Testing
- USB Debugging: Enables connection between your phone and a computer running Android development tools (like Android Studio). This is essential for testing apps, transferring data, and sideloading apps that aren’t available on the Google Play Store.
- Simulating Location: Allows you to set a fake GPS location, useful for testing location-based features in your apps.
- Stay Awake While Charging: Keeps your screen on when the device is plugged in, which prevents interruptions during development and testing.
2. Customization and Performance
- Animation and Transition Scales: Adjust the speed of animations to make your phone feel faster or slower.
- Force GPU Rendering: Forces apps to use hardware acceleration, potentially improving performance in graphics-heavy applications or games.
- Background Process Limit: Set limits on the number of processes that can run in the background, controlling how much RAM apps can use.
3. Advanced Troubleshooting
- Enable Logging: Capture detailed logs that can help diagnose problems with apps or the system itself.
- Show CPU Usage: Display a real-time overlay showing your phone’s current CPU usage, helpful for identifying performance bottlenecks.
4. Rooting and Custom ROMs
- Developer Mode is often a prerequisite for more advanced modifications like rooting your device (gaining full system control) or installing custom ROMs (alternative operating systems).
Important Notes:
- Proceed with Caution: Many options in Developer Mode can have unintended consequences. Make sure you research and understand any setting before changing it.
- Not for Everyone: Most average users won’t need the features within Developer Mode. If you’re not familiar with the options, it’s best to leave it untouched.
Other Benefits/Uses of Developer Mode
- Taking Screenshots on Android Auto: Developer Mode is required for this functionality in Android Auto.
- Customizing Night Mode: Control when night mode activates based on time, sunrise/sunset, or a custom schedule.
- Disabling Wireless Android Auto: Turn off the wireless Android Auto projection feature if you only want to use a wired connection.
Important Note: It is crucial to exercise caution when modifying settings in Developer Mode. Altering options you don’t fully understand can lead to unintended consequences or instability in your device.
