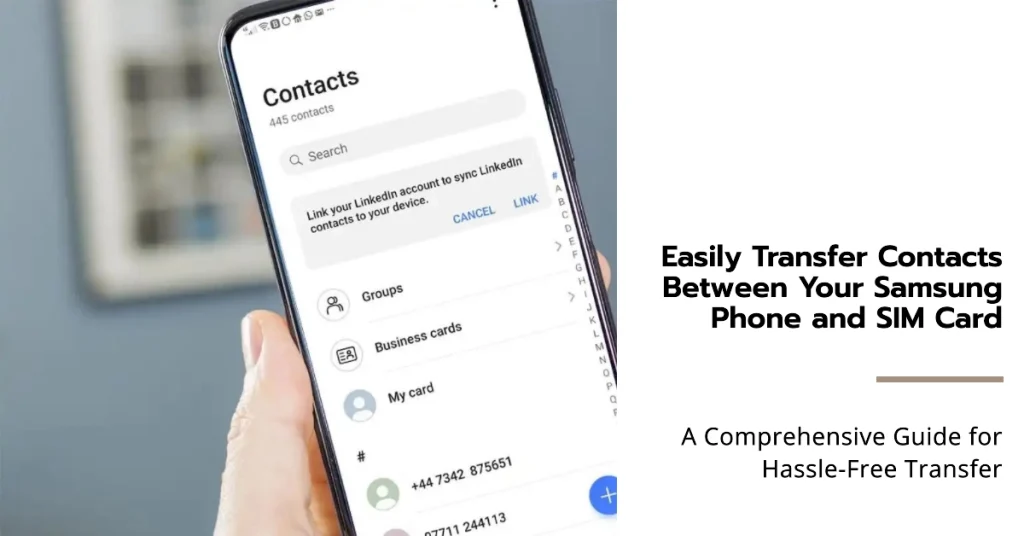
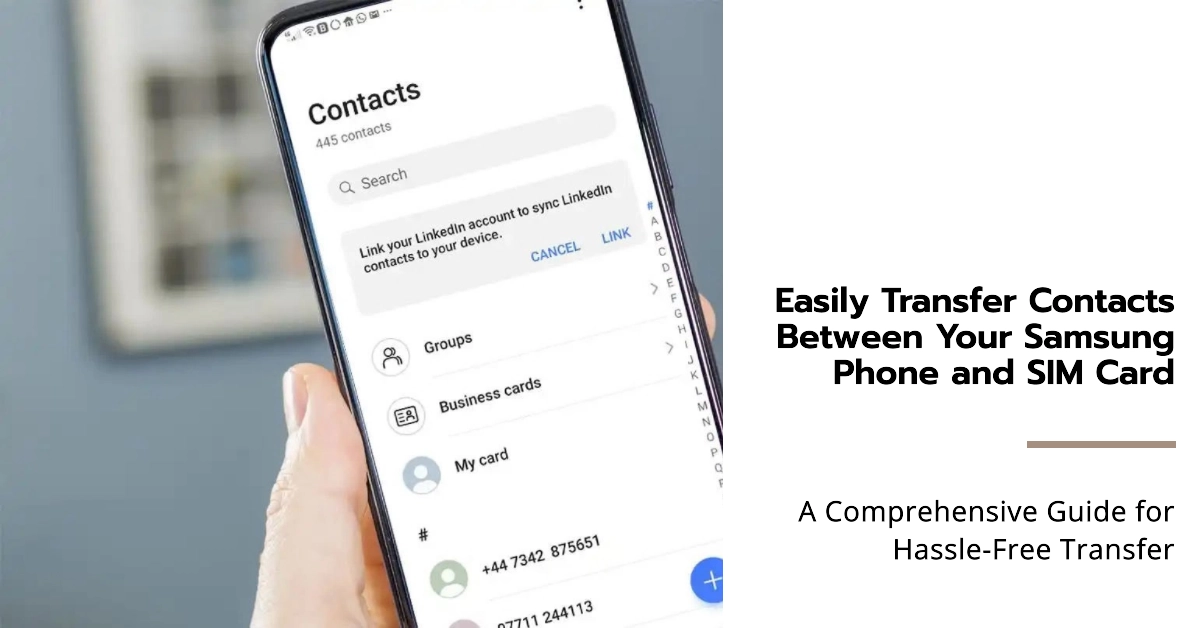
Managing your contacts effectively is crucial for staying connected with your loved ones and colleagues. Samsung phones, like many other mobile devices, offer convenient options for importing and exporting contacts, allowing you to easily transfer them between your SIM card and your device’s internal storage.

In this comprehensive guide, you’ll learn how to seamlessly copy contacts from your SIM card to your Samsung phone and vice versa, ensuring that your contact list remains up-to-date and accessible.
Copying Contacts from SIM Card to Samsung Phone
- Locate the Contacts App: Begin by opening the Contacts app on your Samsung phone. This app is typically represented by a silhouette of a person’s head or an address book icon.
- Access the Import/Export Menu: Once the Contacts app is open, look for the Import/Export option. This option may be found under the Menu button (three dots or lines) or in the Settings menu within the Contacts app.
- Initiate SIM Card Import: Select the “Import from SIM card” option. This will initiate the process of transferring contacts from your SIM card to your phone’s internal storage.
- Choose Destination Storage: If prompted, select the desired destination storage for your imported contacts. Typically, the default option is to save them to your phone’s internal storage.
- Review and Confirm Import: Review the list of contacts being imported to ensure you’re transferring the desired ones. Once satisfied, confirm the import process.
- Completion Notification: Once the import is complete, you’ll receive a notification indicating that your contacts have been successfully transferred from your SIM card to your phone.
Exporting Contacts from Samsung Phone to SIM Card
- Access the Contacts App: Similar to importing contacts, start by opening the Contacts app on your Samsung phone.
- Locate the Import/Export Menu: Follow the same steps as before to access the Import/Export option within the Contacts app.
- Initiate SIM Card Export: Select the “Export to SIM card” option. This will initiate the process of transferring contacts from your phone’s internal storage to your SIM card.
- Choose Export Source: If prompted, select the source location for the contacts you want to export. Typically, the default option is to export from your phone’s internal storage.
- Select Contacts for Export: Review and select the contacts you want to transfer to your SIM card. You can either select all contacts or choose specific ones.
- Confirm Export: Once you’ve selected the desired contacts, confirm the export process.
- Completion Notification: Upon successful completion, you’ll receive a notification indicating that your contacts have been exported from your phone to your SIM card.
Additional Considerations
- SIM Card Storage Limitations: SIM cards typically have limited storage capacity compared to your phone’s internal storage. Therefore, it’s recommended to export only essential contacts to your SIM card.
- Contact Format Compatibility: Ensure that your SIM card supports the contact format used by your Samsung phone. Most modern SIM cards support standard formats like VCF (vCard) and vCard+.
- Contact Backup: Regularly back up your contacts to a cloud storage service or your computer to prevent data loss in case of SIM card damage or phone replacement.
All Contacts Copied!
We hope that these step-by-step instructions are able to help you easily transfer your contacts between your SIM card and your Samsung phone, maintaining an organized and accessible contact list.
Remember to consider the storage limitations of your SIM card and regularly back up your contacts for added security.
