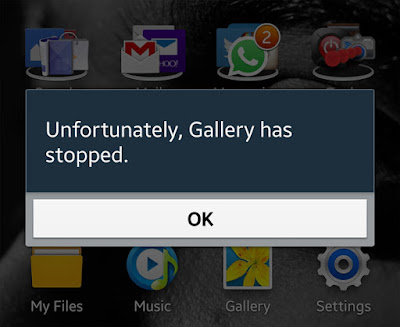
The error “Unfortunately, Gallery has stopped” in your Samsung Galaxy Alpha could have been caused by other apps that crashed. For instance, Gallery is connected to a lot of apps that has offer photo sharing like Facebook, Twitter, Email, etc.
So, aside from the obvious possibility that the Gallery crashed, you also have to look into other apps that use its services. Also, the Camera app runs side-by-side Gallery, so you encountered issues while snapping pictures, there’s a chance that it’s the cause of the problem.
At this point though, we don’t know for sure why the Gallery in your Galaxy Alpha stopped that’s why we need to troubleshoot to determine the problem and eventually fix it. Below are some steps you can follow to try to fix the problem and get rid of that pesky error message.
How to fix “Unfortunately, Gallery has stopped” error on Galaxy Alpha
- Reboot your phone if you haven’t done so. It will refresh your device’s memory and would probably fix the problem if it is minor.
- Clear the cache and the data of the Gallery app. The error message explicitly mentions the name of the app and while I said earlier other apps might be causing it, it’s always the rule of thumb to begin your troubleshooting with the app that has an issue.
- Boot your phone in safe mode. This is isolate the problem immediately and it’s a very important procedure especially if the clearing of the cache and data didn’t work. In safe mode, all third-party apps are temporarily disabled. So, if it so happened that one of those downloaded apps is causing the problem, the Gallery shouldn’t crash in safe mode.
- Try wiping the cache partition if the Gallery app still crashes in safe mode as it could mean that the problem is with the firmware. You should not skip this procedure especially if you just updated your phone because there’s a possibility some caches got corrupted. By deleting the system cache, you are forcing your phone to create new ones, so they’ll actually be replaced.
- Lastly, if all else fails, you need to backup your data and files and do the master reset, which will delete everything that’s inside your phone’s internal storage and bring the phone back to its default settings. This is going to be your last resort considering the all the hassles you’d encounter backing up your files and data.
I hope that these simple steps can help you fix the problem with your phone.
